Saturday, March 3, 2012

The best brownies EVER!


This has been one of those brownie kinds of weeks.
(Especially after the fact that I mistakenly posted this to the wrong blog.)
In fact, at a routine doctor visit the other day, 
where I mentioned possibly being a tad 'hormonal'
(and who isn't by the way?!)
. . .she, THE DOCTOR, told me to eat dark chocolate!
HA! I LOVE IT!
My doctor TOLD me to eat dark chocolate
whenever I felt sad, depressed, crabby or grouchy!
I mean, I had heard long ago that chocolate had
things in it to help those other 'things' in your brain...
but it was definitely a first to hear my doctor say EAT CHOCOLATE!
So that pretty much means I should have 
some chocolate on hand EVERYDAY!  Hooray!!!

So, if you've had a brownie kind of week,
THIS is the perfect recipe for you!
This recipe came from Amy's Bread in New York City.
A bakery that is reportedly the best in NYC.


I stumbled upon this recipe 4 or 5 years ago 
and I don't even know how I did that.
But, as one who has always searched for a great homemade brownie recipe
and has ALWAYS been disappointed at every attempt. . . .
I was almost hesitant in trying these. . .but, WOW, am I glad I didn't hesitate.
They are THE best brownies I have ever had!
As of a year and a half ago, these jewels sold for $3.50 a piece. 
They are easily worth $5.00 ;) ha.

INGREDIENTS:
3 1/3 cups semisweet chocolate chips (20 oz)
(almost 2 bags of chips)
3 oz.  unsweetened chocolate, chopped
1 cup unsalted butter (2 sticks)
1 cup granulated sugar
3 large eggs
1 tablespoon vanilla
 1/2 cup + 1 tablespoon flour
1 1/2 teaspoons baking powder
1/2 teaspoon baking soda
1/2 teaspoon kosher salt

1 3/4 cups chopped walnuts, toasted (optional)

WHAT TO DO:
Preheat oven to 350.
Butter and line a 9x13 baking dish with parchment paper.
I butter my dish (to keep the paper from moving)
then lay a piece of parchment paper on top and butter again. 
(you can buy parchment paper in a roll on the saran wrap aisle)

In a microwavable bowl or large measuring cup,
place your butter, unsweetened chocolate and HALF
of your chocolate chips. . .melt in your microwave.
Stirring after 30 second - 1 minute intervals -
remember, the chocolate will continue to melt
after it's removed from the microwave
so you don't need to cook it to death.
Set the melted chocolate mixture aside to cool down.

In a separate medium size bowl,
whisk together your eggs, sugar and vanilla -
Do not over stir - this will cause crumbly brownies, set aside.

In another separate medium size bowl,
dump your remaining dry ingredients.

Once your chocolate mixture has cooled down,
fold it into the sugar/egg mixture -
resist the urge to over-mix.

Now, whisk your dry ingredients into the
chocolate/sugar combined mixture.
Whisk until barely combined -
 stir in remaining chocolate chips, do not over-mix.

Pour mixture into prepared baking dish,
spread evenly and bake for 32-36 minutes.
The edges will be firm and the center will be soft.
Cool completely as there is alot of chocolate in these.
If you need to speed up the process, refrigerate them before slicing.
And remember, plastic knives cut brownies the best!

Yield: appx. 15 good size brownies


ENJOY!!!! (doctor's orders)

Friday, February 3, 2012

Free Recipe Friday...it's Peppuh Time!


Superbowl Weekend + Stuffed Peppers = Ooooh yea!!!
These may look like ordinary stuffed peppers
that you've had at many a gathering,
but these are not made the 'standard' way around here.
The recipe to this particular way of stuffing peppers
is a bit of a sentimental one.
(Que the violins)

Long, long ago there was a sweet little family we grew to know and love
as a result of my husband being involved with
a prison ministry that his sister and her husband headed up.
(whew...longest sentence ever)
Those leading this ministry would gather often for prayer...and food.
Husbands, wives, tons of kids running around...did I mention lots of kids?!?
And some of the most memorable prayer times I have ever experienced.

As part of that ministry we got to know a little hispanic family.
A hispanic family that made the most awesome stuffed peppers EVER.
The pepper angel's name was Cynthia.
The wife and mother of this little family and she
made these peppers before anyone in the south
knew what stuffed peppers were.
Like I said, it was a long time ago.... more than 15 years.
After first tasting and then begging
for her to bring these peppers to every gathering,
she finally shared this secret recipe.

Here is all you will need:
1 - 12 oz pkg sliced bacon
1 1/2 - 8 oz pkgs cream cheese
1 - 26 oz can whole pickled jalapenos


First things first...set out your cream cheese to soften a bit.
Next.........the peppers
You must buy whole pickled jalapenos in a can.
Around here, there are only a couple of brands available- either is fine.

So...open the can and go find a bandana to wrap around your face...
because unless you are brave....
(not that these peppers are poisonous gas),
there is something about standing over a bowl full of peppers
slicing and seeding about 15 of them
that just seems to make me have a coughing fit!
Also, if your hands are sensitive, you should wear some gloves.
I've had my fingers burn for hours afterward sometimes
and no matter how much you wash up,
if you touch your eye at any point during the rest of the day,
you will be reminded you should have worn gloves!

Okay, so back to the peppers....
these peppers need to be drained
(feel free to save the carrots inside to chomp on if yours has those).
Slice each pepper in half lengthwise.
Do this over the sink...they are lots of juices inside the peppers.
Using your fingers (the peppers are pretty soft),
grab the seeds/stem out and quickly rinse the pepper.
I do all of this under cool running water.
Lay the seeded, rinsed pepper on some paper towels to dry a bit.


Now it's time to get your hands really dirty!
You need to grab a wad of cream cheese and smush it into each pepper.
There's no need to get all fancy and try to
spread the cream cheese in with a knife or spoon...
the peppers are a bit too fragile for that.
Your hands work best.
I kind of grab a handful of cream cheese, make a bit of a snake
and just smush or lay that into the pepper.


Now, it's time for a lovely bacon wrap! Mmm.
Cut your bacon slices in half.
Wrap each pepper individually with one half strip of bacon.
No toothpicks required.
Just stretch the bacon a bit when wrapping around the pepper
and as the bacon cooks and shrinks,
it will hang on to the pepper all by itself.
Lay these heavenly treats on a Pam sprayed wire rack
that's been placed in a baking pan!


Bake uncovered in preheated 375-400 degree oven, for appx 45 min to 1 hour.
You will begin to smell the amazing aroma when they are close to doneness.
Cook until your level of bacon crispness is achieved.


One large can of peppers, 1 1/2 pkgs cream cheese and 1 lb of bacon
made us about 30 stuffed peppers.

Please use canned peppers instead of fresh ones for this recipe.
It is so nice to bite into a soft, tangy pepper wrapped with crunchy bacon....
NOT a crunchy, half-cooked jalapeno!
I don't mean to step on any southern toes here, just try it.
We are just not big fans of raw crunchy peppers.
My husband warned me that I might lose my 'Texas card'
if I dis the crunchy pepper thing too much, so...I will leave it at that.
If you like your peppers half-cooked and crunchy,
then, crunch away....but if you want to be adventurous,
you might just want/need to try these!

Yes, please....end of story.
The End

Friday, January 27, 2012

Free Recipe Friday...it's CRUNCH time!

Have your side dishes gone to sleep?!
Are you tired of baking that routine chicken breast
and plopping open a can of plain ol' green beans to go with it?!
......snore, yawn, zzzz........
Does your meal need a little ZING or a little POW added to it?!?
Well, if you like beans and corn 
then you're gonna LOVE this weeks Free Recipe!!!!
It's not just ANY bean and corn casserole...
this one reigns SUPREME!
It's got great crunch to it and a GREAT alternative
to the old green bean/mushroom soup/fried onion casserole standby!!!!!

(do I like all caps, the ... pauses and exclamation marks much?!???
sorry, it's a SICKNESS............!!! ahhh)

Here's all you'll need!

1 can french style green beans, drained
1 can shoepeg corn, drained
1 can cream of celery soup
1/2 onion, diced
1/2 cup sour cream
1/2 cup cheddar cheese
- - - - -
1 sleeve of Ritz crackers, crushed
1 stick butter, melted
1/2 cup almonds, sliced or slivered
(ours were whole that we ran thru the food processor)

Spray a 9x13 pan and dump the first 5 ingredients in.

In a separate bowl, melt butter, then add
a crumbled sleeve of Ritz crackers - stir to combine.
Add cracker mixture to bean/corn mixture and stir.
Lastly, sprinkle the mixture with almonds and bake at 350
until golden - appx 45 minutes or longer.
Let cool for 10-15 minutes to avoid lava hotness :)

(Side note - for a family of 6, we doubled this so we could have leftovers!)

ENjoy!!!!!!!

Friday, January 20, 2012

Free Recipe Friday....SOUP!

Are you like me....is going to the grocery store
one of your 'leastest' favorite things to do in the whole world?!??
Then today's Free Recipe Friday is just for YOU!
It's one of those
'my pantry is empty so what can I make' kind of meals.  
It is so very easy and the ingredients can be 
as basic or complex as you want them to be.
Have a few potatoes hanging around from that big ol' bag you bought?
Have an almost empty jug of milk about to go bad? 
(THAT sounds scary, but we've ALL been there!)
Then you should make some yummy Potato Soup!!!!!!!!!!
Potato Soup can be as basic or as fancy as you want it to be.
It can be 'Rustic' or more like a 'Loaded Baked Potato' kind of soup...
it all depends on you, your pantry and your fridge!


Our Free Recipe Friday Potato Soup
is of the loaded type...OF course....
because we love pork and dairy!
But the addition of bacon or sausage and cheese
can easily be omitted!  Easily!

INGREDIENTS:

- 6-8 bacon strips, diced OR
1/2 lb. bulk pork sausage

- 1 medium onion, chopped

- 2 cloves garlic, minced

- 1/4 cup plus 2 tablespoons all-purpose flour

- 2 teaspoons salt (or more, to taste)

- 1 teaspoon pepper (or more, to taste)

- 6 cups chicken broth (canned, low salt OR 
chicken base, paste with water added)

- 4 large baked potatoes, washed and cubed
(peeling them is also optional)
*side note: feel free to substitute YOUR fav potatoes
such as yukon gold, or red potatoes - just be aware
these are less starchy and the soup will not be as thick)

- 2 cups half-and-half cream or milk
 
- appx. 2 cups cubed Velveeta
(this stuff gags me, but is great for soups!) 

Items for garnishing:
Shredded Cheddar, Sour Cream, Green Onions/Chives


In a heavy medium size stockpot,
pour in your chicken broth and diced potatoes.
Bring to a boil until potatoes are just barely tender.
While those are cooking, in a seperate saucepan, 
cook bacon or pork sausage until crisp. 
Drain, reserving several tablespoons of the drippings. 
Set bacon/sausage aside. 
Saute onion and garlic in the drippings until tender. 
Stir in flour, salt and pepper; mix well. 
Gradually add a cup or two of the broth out of your potato pot
into your onion/bacon/flour mixture.
Whisk until smooth.  Now pour bacon/sausage mixture from your saucepan
into your stockpot with broth and potatoes.
Stir for several minutes. Turn down to low.
After mixture has stopped boiling and is down to a simmer,
add cubed velveeta.
Continue to stir.  Add cream...heat through but do not boil.
Check for seasoning (salt/pepper).
Garnish with bacon, cheese, sour cream, chopped green onions or chives.

Add a salad, crackers on the side....or don't add one single thing.
It's that good!
And if you used remnants from your pantry and fridge, it cost you pennies!
Well, maybe a few dollars.
BUT, you didn't have to go to the store! Yippeeeeee!

Friday, January 13, 2012

Free Recipe Friday. . .Grapes and Mayo

It's Free Recipe Friday and we're baaack!!!!
And before you say GRAPES and MAYO, whaaaat???
Stick around, your taste buds will be glad you did.
Even though it's not springtime just yet, we just had to throw in
one of our favorite family quick fix meals.
It's Chicken Salad!  But not just ANY chicken salad.
This is the very same chicken salad that we made at
The Tuttle House Tea Room.
(Raise your hand if you ever had lunch there!?!!???)
This recipe originally came from a Southern Living Cookbook...
probably circa 1983 or 84?!
Who knew that putting GRAPES into mayonnaise could be THIS delicious!

CAUTION:  If you are one that can only cook by measuring exact ingredients
and following precise instructions, then this my friend will be a stretch for you!
But it will be a good stretch indeed.

WHAT YOU NEED:
(we fed our family of 4 plus the newlyweds and a few servings leftover)

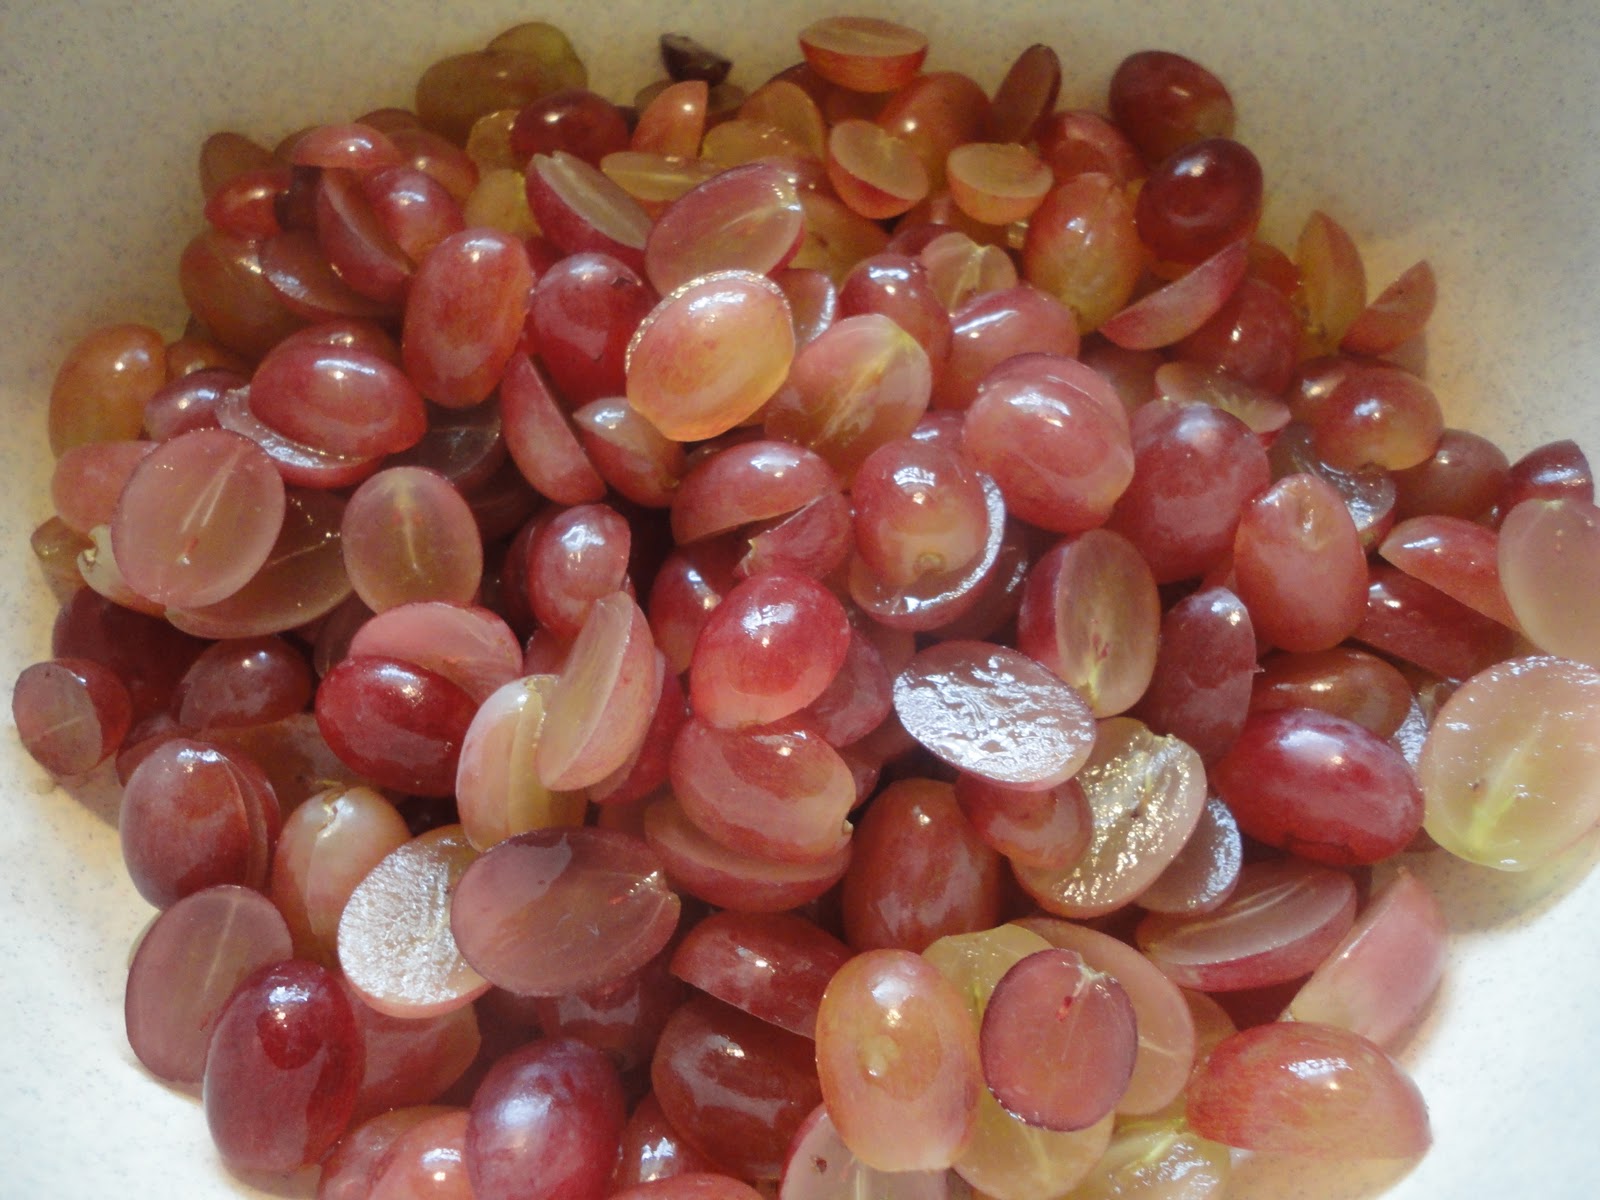
Grapes - we used a whole bag of red grapes - sliced in half
(yes, each one sliced in half - one by one -
monotonous I know, but it is a great job for your kids
to do with a butter knife that has a few serrated teeth on it!)


Celery - diced
we used appx a half of a 'bunch'


Chicken - cooked and chopped (we always boil ours)
we used a 3 lb. bag/boneless-skinless breasts
(you could certainly use a rotisserie chicken
or other chicken pieces-but you may need to adjust
the remainder of ingredients accordingly - 
you will definitely need less mayo with a rotisserie chicken)


Mayo - Miracle Whip
gasp - we used almost 2 cups here
you can use less if you will be eating it immediately -
the chicken tends to absorb some of that mayo/moisture
if made ahead or eaten as leftovers, thus the need for excessive mayo!
(and WE personally prefer Miracle Whip to Mayonnaise for this recipe)


Nuts - appx. 1 cup or your favorite - optional of course -
the original Southern Living Recipe called for cashews
(which I used in this batch)
but be forewarned, they should be added right before serving
as they tend to get a bit mushy after a day or two in the fridge.
At The Tuttle House Tea Room,
we used chopped pecans instead...it was magical!

You can certainly increase or decrease this recipe easily to your liking.
Only need chicken salad for one or two?
Chop up only the amount of chicken you will need - one or two pieces -
continue to add as many grapes and celery as you'd like.
We prefer a little less celery sometimes, 
so we only put in the amount of 'crunch' we want!
That's why this recipe isn't really measured - again, be flexible...
let loose in the kitchen and don't be scared!


Although back in 'The Tuttle House days' (as we call them),
we would serve this on a big yummy croissant with a nice piece of leaf lettuce
and a few potato chips on the side (or some homemade soup!).
These days we don't seem to bother with 'extra filler' like bread,
we just eat the chicken salad STRAIGHT - maybe a few crackers on the side.
Our whole family loves this chicken salad - even the kids!

Hope you are able to try this recipe really soon - you'll be so glad you did!
Have a great, warm, snugly weekend!!!


Followers