Friday, July 26, 2013

Comforts of Childhood

Do you have those go-to childhood food favs that you just cannot live without?  Meatloaf, roast beef, homemade mac n' cheese...or even just a simple slice or two of cinnamon toast?  Growing up in our household, cinnamon toast used to be a routine breakfast food.  Now-a-days, we like to throw it together when we're feeling snacky (and there's no ice cream around).  So simple and easy, and the more butter and sugar the better! ;)


WHAT YOU NEED:
Bread
Margarine/Butter
Ground Cinnamon
Granulated Sugar
Baking Sheet
Broiler

WHAT TO DO:
Preheat broiler.
Take a slice or two of bread
LIBERALLY spread the top side with butter or margarine.
Sprinkle cinnamon pretty heavy handed-ly
over the buttered bread - but not a solid covering.
To prevent sugar spillage,
place the semi-prepared slices on a baking sheet covered with parchment or foil
and completely cover the bread with sugar.
Place the bread covered baking sheet under the broiler
and watch carefully.
Watch for the sugar and butter to melt into each other
and then will begin to bubble - wait for it to become golden
and remove from the oven.
If you like it more crunchy go for a darker golden brown.
Floppy?  Then broil to a light golden color.
Side note:  You must resist the urge to eat immediately.
If you do, the lining in your mouth will melt away.
Allow the toast to sit a few minutes and then
feel free to devour.
DEEELISH.
Pour up an ice cold glass of milk and....instant comfort food.

I can still remember introducing cinnamon toast
to the girls when they were itty bitty.  So fun.
A tried and true tradition that can't be beat.

ENJOY!

Friday, July 19, 2013

Some RuRu in the Kitchen

Okay, so, if you're like me, meal planning week after week just gets monotonous sometimes doesn't it?  Back in the day, going through some old cookbooks would be the monotony melter.  A few years ago, the modern version of that would be watching a good dose of the Food Network for inspiration. Nowadays, Pinterest is our rescuer. But, even with that, time and energy is always an issue.  Here's where children come into play.  You know, those lovely little darlin's that you birthed, bathed and chopped up every morsel of food for?  Time to pay up suckas. When there are THREE children you see, that live at home, are all quite handy in the kitchen, it's time to bequeath that honor.  So, new household rule...each child cooks one night a week.  Yippeeeee.


First up, the baaaaaby.  Baby Rudy.  A whopping 14 years old now and ever so capable of using an oven or stove top.  This isn't her first rodeo though, she's whipped up quite a few things in the past couple of years.  But, this was most certainly her first full meal deal.

I must admit, I did 
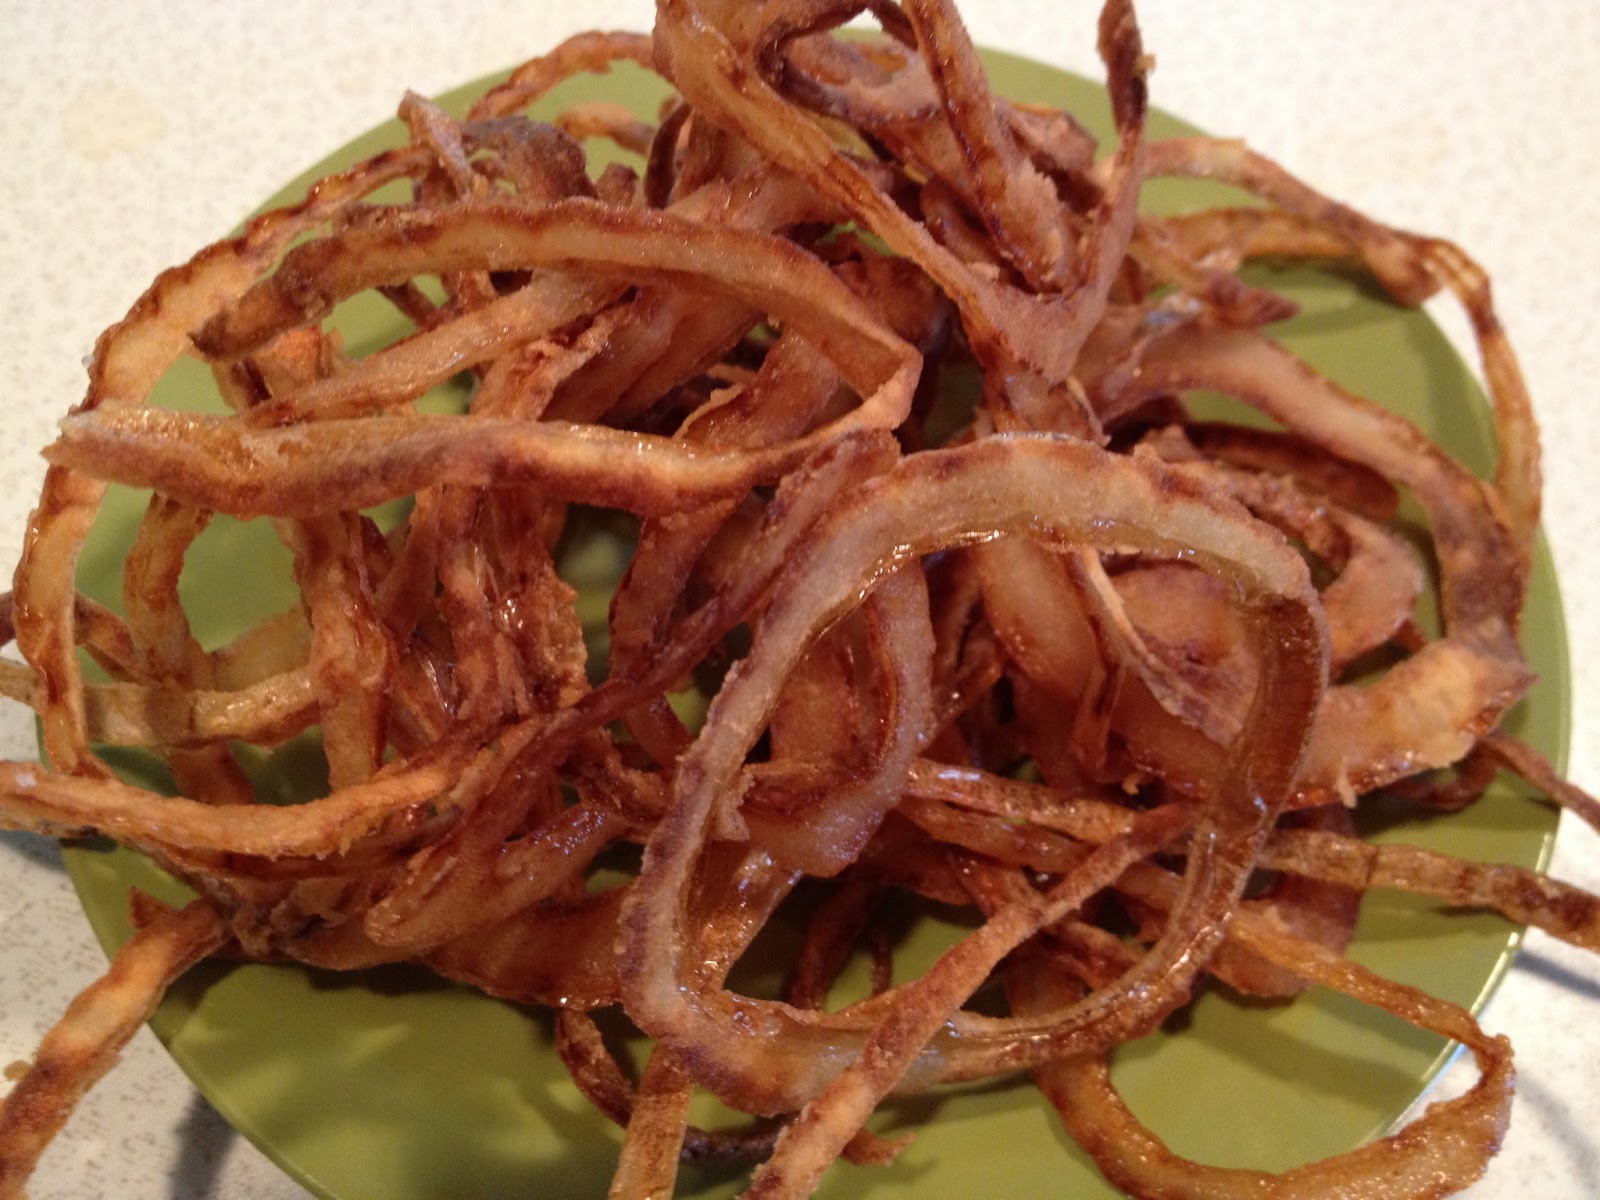
offer a bit of aid to her in the kitchen...I mean, how is a mama gonna sit there and let her baby cut up raw, slippery, chicken all by herself (*eyes fluttering)???  Ol' mom also made a side of fried rice to go along with her creation - you can check that out HERE. That's just because I was craving it and had to have it with her Orange Chicken and Veggie Stir Fry.  Is that enough excuses for helping out the baaaaby?

WHAT SHE NEEDED:
FOR THE SAUCE:
1 cup orange juice
4 tablespoons soy sauce
4 tablespoons rice vinegar
2 tablespoon oyster sauce
(we sub'd Stir Fry Sauce that had oyster sauce as an ingredient)
2 teaspoons orange zest (we omitted this)
4 large cloves garlic
2 teaspoons minced ginger

FOR THE STIR-FRY:
3-4 lbs raw boneless chicken
6 or more cups - fresh veggies of your choice:
we used an assortment of baby carrots, broccoli, snow peas, and mushrooms
salt/pepper
6 tablespoons cornstarch
olive oil

WHAT TO DO:

On a little aside, the FIRST thing she actually did was make dessert,
the day before!!! That's what I'm talking about!
Hey, we KNOW where our priorities are.
Mini cheesecakes made in muffin pans WITH
a salted caramel sauce on top.  Uh, yummm.

Now, I could stop now and you would never even miss the entree, right???
But, we must continue.

Okay - when it became meal time,
Rudy made the orange sauce for the stir fry.
She got out our little ninja machine
and threw in all of the sauce ingredients and voila.
You could use a food processor or blender as well.
Set sauce aside.

Next, she began removing the fatty little parts of the chicken
(we are picky that way) and sliced them into bite size hunks.

While that was happening, me, the mom, preheated the oven to 350 and
roasted some veggies in little piles all on one large baking sheet.
I drizzled the fresh veggies with a little olive oil and
continually checked for done-ness as each veggie
 required different cooking times.
Remove the ones that are slightly wilted but still crunchy
and keep cooking any others...the carrots for instance take a bit longer.
Salt and pepper the veggies please and set them aside.

In the meantime, toss the cornstarch and some more salt/pepper
on the raw chicken.  Toss to coat each chicken piece.

Finally, place a large heavy saute pan
on medium-medium/high heat.
(a wok would be ideal - but we no have)
Pour a couple of tablespoons of oil in the hot pan and
stir fry the chicken until cooked through.

Add in cooked, roasted veggies (or raw if you'd rather
not cook ahead) and stir to combine. 
Slowly add in the orange sauce to your liking.
I believe we used all that we had prepared. 
Of course we did.  We love sauce.
Now it's about time to call the troops to the table.
If you have some fried rice or just any rice -
and some soy sauce, even better...that would be most delicious indeed.

This recipe fed a family of five (most all adults)
with enough leftover for my hubby to take in his lunch the next day or two.
It could easily be dropped to half if you need less.

Rudy did such an awesome job.
As a mom it makes me so proud
because I know that with each cooking experience
she will become more confident and familiar with the kitchen,
how long things take to cook, slicing, dicing
and using seasonings for heavens sake.
It's a win for everyone.

Now, I must go whip them all because they are acting crazy.
Does it ever end?

ENJOY!

Friday, July 12, 2013

Melody's Miraculous Momofuku Meltaways

Hi!  This is Melody, our number one daughter.  Or, daughter number one...or, our first daughter. However you say it, she's pretty dog-gone amazing.  She loves fashion, blogging and has a dog named Pepper.  You can find out all about her awesome-ness HERE.  This week's Free Recipe Friday is all about her recent creation at the Taylor house when there was a craving for chocolate.

Surely this will not come as a shock to you that women, at certain times of the month, may or may not have a particular craving for something.  Most often in our house, chocolate.  There.  I hope I haven't shattered your world.  So, what do you do when you've scoured the entire house, candy bowls, refrigerator cubbies, and secret hiding spots in all the bedrooms for a morsel of chocolate and there is none???  You have to improvise.  And this dear daughter was the queen of improvisation when our chocolate cravings hit that day.

It all began with Pinterest.  You know that crazy Pinterest.  I just love it!  Anyway, she scoured her food boards and found a recipe she thought she would make.  Once she dove in, she realized we were short of most everything on her list.  But she was a real trooper and was not going to let that stop her.  Now THAT'S a craving for ya.  Below you will find HER recipe, not the one found on Pinterest.  We can only attest to the one below, not the original, and they. are. scrumptious.  They seem like they would taste very similar to what the Momofuku Milk Bar people created with their cornflake-chocolate chip-marshmallow cookies.  Mmmm.  (That place is DEF on my bucket list). 

Melody's Pinterest-y recipe called for real butter (we were out) and so she sub'd margarine which made the cookies flatter and actually yummier and less cake-y.  WIN. Then we were low on white sugar so she added a little extra brown sugar.  GENIUS.  It also called for chocolate chips, but we only had a few - so she added in some Cocoa Pebbles.  The recipe also called for almonds, which we did not have, so the Pebbles were also there to add a bit of crunch - and she just wanted to know what it would taste like.  CRAY.  She then added in some marshmallows for fun because that's how she rolls.  So, may I present to you the one and only recipe for Melody's Miraculous Momofuku Meltaways...perfect in every way.

Melody's Ingredients:
-- 6 Tablespoons margarine
-- 1/2 cup granulated sugar
-- 3/4 brown sugar
-- 1 teaspoon course sea salt
-- 1/2 teaspoon baking powder
-- 1/2 teaspoon baking soda
-- 1 egg
-- 1 teaspoon vanilla (we used Mexican)
-- 1 1/4 cup flour
-- 1 1/4 cup semi sweet chocolate chips
-- 2 cups mini marshmallows
-- 2-2 1/2 cups Cocoa Pebbles

WHAT TO DO:
Preheat oven to 350.
In the bowl of an electric mixer, beat butter
and add in both sugars, salt, baking powder and soda.  Mix well.
Beat in egg vanilla to combine.
Add in flour slowly and then stir in cereal and marshmallows.
Drop by rounded spoonfuls onto a greased baking sheet
about 2 inches apart.  Bake for 10 minutes.
When removed from the oven they may look a bit undercooked -
let them sit on the baking sheet for 1-2 minutes and then
remove to a wire cooling rack where they will become
less fragile.  Repeat baking process until you have used
the remaining cookie dough.
When cookies have cooled completely,
store in a sealed air tight container.
Now, to go munch on a cookie or three!

ENJOY!


Friday, July 5, 2013

All Strung Out

    Is the aftermath of vacation week or celebrating America's birthday leaving you a little strung out?  For us it's both, but this week's Free Recipe Friday ought to fix you right up!  There's nothing like slamming back into reality after a glorious vacation or waking up to view the shrapnel in your yard after those millions of exploding balls of fire fell from the sky.  Eeek.  So, if you happen to have any leftover burgers, hot dogs or steak, today is a good day to throw it all together for a yummy, relaxed and not near as messy second go 'round. Re-introduce it all with a side of easy peasy onion strings - and go All-American once again.
    This week is about easy onion rings.  When you love 'em and crave 'em, but don't want to mess with the batter process, give this week's recipe a try - onion STRINGS.  Some restaurants serve these on burgers or as appetizers, but they are oh so easy to make at home.  You can even use these for your traditional green bean casserole and toss out those over-priced dried canned versions of onions sold in super markets everywhere.  These are literally as easy as 1. 2. 3.
WHAT YOU NEED:
2-3 Onions, sliced very thinly
Flour, 1-2 cups
Salt/Pepper
Veggie Oil for frying
Paper Towels to drain
Frying Pan

WHAT TO DO:
Peel and slice white or yellow onions very thinly.
Separate into rings and place in a medium size bowl.
Toss in 1-2 cups flour and a teaspoon of salt and pepper
and stir to coat the onions.
(If the flour runs low just toss in some more - no big deal)
Heat oil on medium-medium high heat in a heavy skillet or pan.
Grab a handful of coated onion strings and shake off excess flour.
Drop gently into hot oil to fry.
That's it.  No milk, cornmeal, eggs or dripping batter.
Stir the frying onions occasionally and remove once golden
onto paper towels to drain excess oil.
Repeat until all onions are fried.

Sometimes this is tiresome when your family members, i.e. your husband
come in and out of the kitchen to sample and deplete
the finished product...making you repeat the frying process
over and over and over and over.

These are so delicious and would go great with that leftover hotdog, burger or eat 'em straight off the plate!  Fry 'em up ahead of time to froof up a casserole or salad and you will be in onion ring heaven.  IF you can keep everyone's hands off of them.
ENJOY!

Followers