Friday, January 25, 2013

Dough-rrific

Things to ponder…
if you were ever in a quandary
about what to cook for dinner
or needed a side dish to go along with your meal…
and it just so happened that your pantry
was not stocked to its fullest…
I mean, theoretically...
surely this would never happen,
but MAYBE, just maybe it did one time.
And after much deep thought,
you realize that you might
could make up a complete meal….
if only you had some pasta.
SO, would you rather:
A: Get in the car,
drive five or ten minutes to a store
and pay five dollars for 'homemade' pasta,
then drive five to ten more minutes
back home and spend fifteen more minutes cooking it?
OR
B: Stay in your pajamas (that you’ve had on all day)
and make your own pasta,
basically for free in fifteen minutes or less?
Messier?  Maybe. 
More delicious-er?  Most definitely.

You can decide.
Really, there’s no pressure.
Please don’t hate.

I may have a sickness.

Okay, so maybe I've done this recently.
It was seriously not worth the makeup to go out
and it was seriously worth it when we tasted the pasta.

I hope you'll stay in your pajamas one day
and make some pasta.

I got this recipe from The Pioneer Woman.
Yep, we just chat it up all the time! ;)

WHAT YOU NEED:
2 eggs for every cup of flour
That's it.  That's all you need.
The Pioneer Woman says to figure
1 egg for each person you'll be feeding.
We found that we fed a little more than that.

My first go round, I used 3 eggs and 1 1/2 cups of flour.
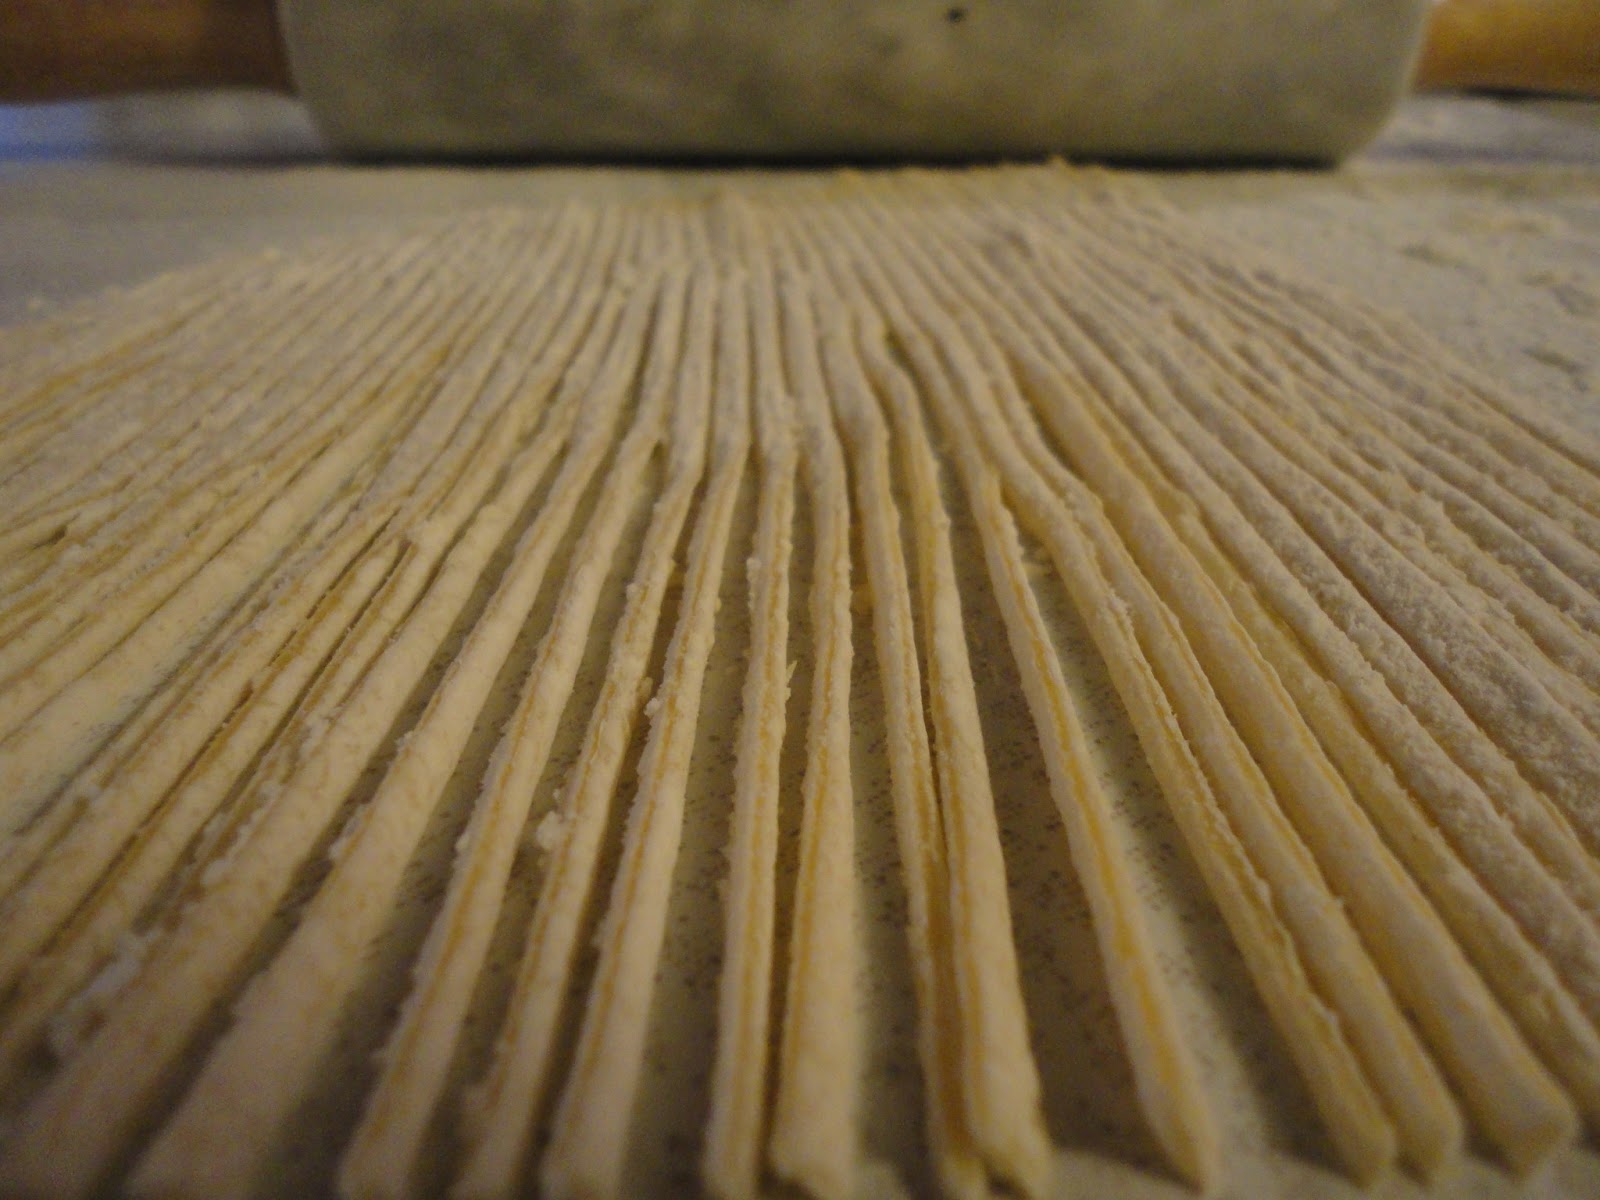
Cut the pasta into skinny spaghetti shapes
and it made enough for a 9x13 pan of
chicken spaghetti.

The next go round, I made the basic recipe
and it fed 4 for dinner as a side dish.

WHAT TO DO:
Measure flour into medium size bowl 
and make a well in the middle of it.
Crack both eggs into the 'well'
and with one hand, begin to work in
the flour a bit at a time -
squeezing the eggs to break the yolks
as you go.  Nice and messy.
This is why you just want to use one hand.
Continue mixing the goo together until it is
completely combined.  Mix and knead
until it is nice and smooth -
adding a bit of flour in as needed
to keep from sticking.

Let the dough rest for 10 or 15 minutes.
Using a good heavy rolling pin,
begin to roll dough as thin as you possibly can.
(If you have a pasta machine, even better)
But this is not hard to do.  At. All.
Roll dough and rotate as you go,
adding a little flour here and there
to keep from sticking to the counter.

Using a very long knife, a pizza roller or a pizza cutter
cut the dough into the shapes you would like.
You could even make ravioli!

As the dough pieces sit and rest,
fill a large stock pot with a couple of quarts
of water and a few tablespoons of salt.
Place on high heat and bring to a boil.
Once boiling, slowly add pasta and begin to stir.
When water comes back up to a boil,
lower heat to medium.
Homemade pasta only needs to cook a couple of minutes.
For spaghetti, approximately 2 minutes!
 Drain pasta and eat to your hearts desire.

I really feared this pasta would be too delicate
for something such as chicken spaghetti
but it held up extremely well and was
most excellent I must say.

We also like it with just some butter
and olive oil - it's really great
served up with Baked Italian Salad
shown in the pic below! Yumm.
You could get so creative with this
and your kids would absolutely shout
if they got to participate!

ENJOY!!!


Friday, January 18, 2013

Bacon-aisse!

HE DID IT!
Oh yes he did. 
Your eyes are not deceiving you.  
 My mountain man searched and researched
and tweaked and measured
(well, maybe not so much measuring)
but he made homemade mayo out of bacon grease
instead of another oil, such as olive or veggie.
Make it if you dare – keep it in your man cave –
spread it on toast, biscuits, a spoon,
whatever men like with bacon…or mayonnaise. 

WHAT YOU NEED:
1 egg yolk per half cup of bacon grease
¾ teaspoon or so Dijon mustard
Salt/Pepper to taste
1 teaspoon lemon juice
(He tripled these ingredients
which made about a pint jar
of bacon-naise goodness)
WHAT TO DO:
In the small bowl of a food processor, 
process egg yolk, mustard, lemon juice 
and season with a pinch of salt and pepper.   
Have the bacon fat warm enough to be liquid, but not hot.   
With the machine running, gradually and slowly, 
drizzle in the fat into the processor.   
Emulsify for about 2 minutes.  
 Once it starts to emulsify
you can begin pouring the bacon fat more quickly.  
 If the ‘mayonnaise’ is too thick, 
just blend in 1 teaspoon of boiling water to thin it.  
 Taste and adjust seasoning if needed.   
Refrigerate in a good sealed container or Mason jar. 

By the way, if you want to make mayonnaise,
minus the bacon grease part -
just swap out the grease for a good oil
such as canola or olive oil.

ENJOY!

Friday, January 11, 2013

Stick Food Friday

Welcome back to Free Recipe Friday.
So sorry for the missing post last week,
we were off with a bunch of college kids
in Atlanta, Georgia for the Passion Conference.
A week long conference with so much worship,
so much Jesus, and so much to process.
There are really no words to describe it.

This week, as we approach another
nationally celebrated time to gather with friends
and eat - i.e., SUPER BOWL, we thought we would offer
an oh so easy and make ahead snack.
Antipasto Kabobs.
If you make these, you'll have more time
to enjoy the big game.

WHAT YOU NEED:

1 - 9 oz pkg Cheese Tortellini - cooked to al dente
40 large Black Olives
40 large Stuffed Green Olives
20 slices of Hard Salami - sliced in half
40 slices of Pepperoni
Flat Leaf Parsley
Appx. 3/4 cup of Italian Dressing, or
even better, a copycat Olive Garden Dressing
(found all over Pinterest)
40 small Skewers

WHAT TO DO:
Cook tortellini to al dente in a pot of salted water
according to package directions; drain and rinse in cold water.
In a large resealable plastic bag,
combine the tortellini, olives and dressing.
Seal bag and turn to coat; refrigerate for several hours
or overnight.
When ready to prepare these little yummies,
remove from fridge, drain and discard marinade.
For each appetizer, thread a stuffed olive,
folded pepperoni slice, tortellini,
folded piece of salami, a ripe olive and parsley sprig.
Now chow down!

These are so great and easy, 
great for any gathering
whether it be as an appetizer or
alongside a salad and good crusty bread for a meal.
I hope you can make these very soon!


ENJOY!

Friday, December 28, 2012

Sumptuous Finger Foods!

Hope you all had a great Christmas
and are now gearing up
to enter into a New Year!
We've had a busy week
and are even partying it up
with more Christmas celebrating
with family as we speak.
We even had SNOW
on Christmas day -
which was a first time
experience for many adults!!!

If you need some snack ideas
for your upcoming New Year's gathering
or for game night,
check out the lastest
Wedded Bliss article
for some super yummy options!
(photo by Jamie Maldonado)

Have a happy and safe
New Year's and
ENJOY!!!

Friday, December 21, 2012

Visions of Sugar Cookies


Yea, I know what you're saying.
Those cookies don't look Christmas-ey AT ALL.
That's the beauty of the sugar cookie.
It can be anything you ever dreamed it could be.
Cookie cutters, no cookie cutters,
they will still taste the same...awesome.

We traditionally make these cookies
every year around the holidays,
however, any pics I have of those past
holiday sugar cookies are on a
temporarily dead computer around here. 
Soooo.
Wedding cookies it is!!!!

The cookies in these pics were made for
THE sweetest, sweetest girl I tell you
(who I think should STILL be a
youth intern or AT LEAST a college kid)!
She was instrumental in our two oldest daughters lives...
leading by example outwardly AND inwardly.
Staci was the most beautiful December bride
and last year, these cookies made it all the way
to her wedding in Oklahoma!
We have been so blessed to have had her
AND her two equally as awesome
sister's be a part of our lives!!!

For this week's Free Recipe Friday
I am sharing with you this great old Martha Stewart recipe.
Cookies that we've made for ten plus years.
Once they are made, the dough is kept refrigerated
and can be brought out
to bake a few cookies at a time or a big batch.
Go ahead a make a batch of these up
and if you leave some for Santa,
he just might not leave your house!

WHAT YOU NEED:

2 cups flour (more for rolling out)
1 cup sugar
1/2 teaspoon salt
1/2 teaspoon baking powder
1/2 cup real butter (1 stick)
1 large egg
1 teaspoon vanilla

Non stick baking sheet or one lined with parchment
Royal Icing and other assorted candies, optional

WHAT TO DO:
With your mixer or in a large bowl
using a hand mixer,
cream together the sugar and butter
until it's pale yellow in color.
Add in vanilla and egg, mix well.
In a separate bowl, or right in the
measuring cup, combine the flour,
salt, and baking powder.
Slowly add in to first mixture
until just combined.
Don't overmix.
Divide by hand into two disks.
Wrap tightly with cellophane and refrigerate
several hours or overnight.

When you are ready to bake,
preheat oven to 325.
Remove one disk from the fridge
and let it warm up (about 15 minutes).
Dust your clean countertop with
a bit of flour. Begin to roll out dough
to 1/8 inch thickness.  Sprinkling flour
on top of dough to keep from sticking.
Continue rolling and rotating dough
until you reach the desired thickness.
Using cookie cutters (if desired)
begin cutting out your shapes. 
Either place on a cool cookie sheet
to bake immediately or
 a floured cutting board to keep in the fridge
to keep them from becoming too warm.
If you want to top with M&M's or sprinkles
instead of icing, do this before baking.

Once your cookie/baking sheet is full
bake for about 10 minutes.
You will barely see a golden color around the edges.
Don't bake them until they are brown.
Pale, pale, pale is what we are after here.
Remove from oven and let them sit a minute or two
before removing them to a cooling rack.

You can now place cookies in a ziploc baggie,
freeze them, or save them to decorate later.

For the first six years or so that we made these,
we basically did not use Royal Icing
as we do now.
If you want to go the Royal Icing route,
the internet is full of that easy to find recipe.

In our early years, before meringue powder
and not wanting to use raw egg whites,
we made a thick
powdered sugar and milk icing
with a few drops of vanilla or butter flavoring.
You seriously cannot mess it up.
Combine 2 or more cups of powdered sugar
with a few spoonfuls of milk and whisk away.
If it's too thick, add a tiny bit more milk
only adding a little at a time -
it takes surprisingly less milk than you would think.
It will be thinner than toothpaste (sorry)
but a bit thicker than honey.
(Now is the time to add coloring
if you want anything other than white).

After getting our mixture to just the right consistency,
we spooned it into a good ziploc baggie
 and snipped a small piece off of the corner.
We outlined each cookie with this thick icing
and in a matter of minutes, it was firm to the touch.
Using the leftover icing,
we thinned it with milk to a pourable
almost runny consistency.
We then used a teaspoon to 'pour in' the icing
in between the hardened outlines.
Now the tough part.
Letting the cookies 'dry.'
This may take a few hours or overnight,
depending on that good ol' humidity.
Once dried, cookies can be stacked a bit
and touch each other without fear of
any smudges. 

Leaving the cookies to 'air dry'
will not affect their texture
or dry them out.

From our crew to yours,
we hope you have a very
Merry Christmas!!!!!

And Happy (early) Anniversary
Staci & Tyler ;)


Followers